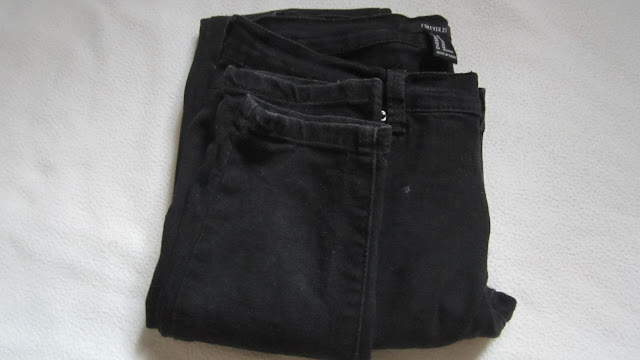
HELLO PEEPS! Good to see you! :) I know how much you guys liked my DIY Phone Case post,so I'm back for another DIY blog post!Today I'm gonna show you how to make your own ripped jeans.The process is quite self-explanatory but I thought some of you might want to know exactly how I did mine so here's a post on HOW TO MAKE RIPPED JEANS!
I first decided to rip my jeans on my own because I saw most of them from the stores are really really pricey like most of them were RM99 for just a pair of jeans so I thought I could totally rip my own jeans and have the same result.
What you will need for this DIY:
- A pair of new or old jeans of your choice.
- A pair of scissors
- Two or more safety pins
And that is all you need.Now let's get started!First,you want to measure where you want your holes to be.The best way to make sure you cut the right spot is to put your jeans on.So go ahead and put them on then you can start to measure.With your safety pins,pin them down where you want your cut to be.
I wanted mine right on the knees so I put the pins there.Once you measured out the spot you want to cut,you can take your jeans off.And we can start cutting!
Use a pair of scissors(preferably fabric scissors)to cut the jeans following where you've measured out.The reason I used the pins because the needles of the pins are straight so you can see where you want to cut easily.
Start by cutting a small hole and work your way up.So basically once you've successfully cut a hole,go ahead and open up your scissors, run your scissors through the hole making the little frizz comes out so that it doesn't look like a awkward hole.So cut small sections and frizz them until you get your desired look.Once you're done try them on and if you're happy with it you're done!
Mine turned out super cute and I wear it so much I think I'll never wear non-ripped jeans anymore.But I hope this helped.Be sure to try it out and I hope you liked this post.
Thanks for reading!Cheers!
Love,Nikki. x


No comments:
Post a Comment